DIY Oil Cooler Installation Guide
- George Harris
- 0
- Posted on

An oil cooler is an essential component for maintaining optimal engine temperatures, especially in high-performance vehicles or situations involving heavy towing. Installing an oil cooler can enhance the longevity and efficiency of your engine by preventing overheating, thus improving overall performance.
This guide will walk you through each step of the process, from selecting the right oil cooler for your vehicle to ensuring a proper and secure installation. You will learn the necessary tools and materials required, as well as critical safety measures to take during the installation. By following this DIY approach, you can save on labor costs while gaining a deeper understanding of your vehicle’s mechanics.
Whether you’re a seasoned mechanic or a novice enthusiast, this step-by-step tutorial aims to give you the confidence to tackle the project on your own. With clear instructions and useful tips, you’ll be prepared to install your oil cooler successfully and enjoy the benefits of a cooler-running engine.
Selecting the Right Oil Cooler for Your Vehicle

When it comes to selecting the right oil cooler for your vehicle, several factors must be considered to ensure compatibility, efficiency, and performance. The first step is to determine the size and type of the oil cooler that best fits your vehicle’s engine and intended use.
One crucial aspect is the engine size and type. Larger engines or those used in high-performance applications often require larger coolers to effectively manage increased oil temperatures. Additionally, vehicles that engage in towing, racing, or heavy off-road usage will benefit from more robust cooling solutions compared to those used primarily for daily commuting.
Next, evaluate the mounting options available in your vehicle. Some coolers are designed to be mounted in front of the radiator, while others can be installed in various locations, depending on space availability and airflow considerations. Ensure that the chosen cooler fits well without obstructing other components or airflow needed for optimal engine performance.
Consider the material construction of the oil cooler. Aluminum is a common choice due to its lightweight and excellent heat dissipation properties. Copper and brass coolers, while heavier, may offer enhanced durability and resistance to corrosion. Assess which material aligns with your performance needs and budget.
Additionally, examine the flow rate and fin design of the cooler. A higher flow rate can enhance cooling performance, but it should be matched with your vehicle’s oil pump capacity. Look for additional features such as built-in thermostats, which can regulate oil temperature more efficiently, ensuring the oil reaches optimal operating temperatures quickly.
Finally, research compatibility with your vehicle’s existing oiling system. An oil cooler may require specific adapters for installation or modifications to hoses and lines. Always consult your vehicle’s specifications and, if necessary, seek advice from professionals or experienced enthusiasts to confirm your choice will work effectively with your setup.
Preparing Your Workspace and Tools for Installation
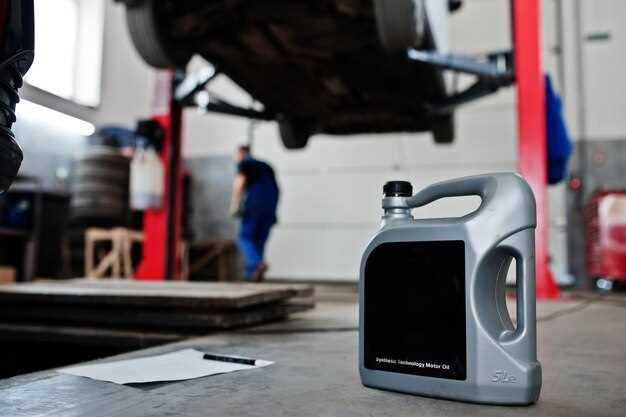
Before starting the installation of your oil cooler, it is essential to prepare your workspace properly. A clean and organized area will allow you to work more efficiently and minimize the risk of losing tools or components. Select a flat, well-lit surface for the installation, such as a garage floor or a sturdy workbench. Ensure that the space is free from clutter and distraction, creating an environment conducive to focus and productivity.
Next, gather all necessary tools and equipment to streamline the installation process. Typical tools include a socket set, wrenches, pliers, screwdrivers, and an oil catch pan. Additionally, you may need specific adapters or fittings compatible with your vehicle and the chosen oil cooler. It’s wise to have a torque wrench on hand, as proper tightening is crucial for preventing leaks.
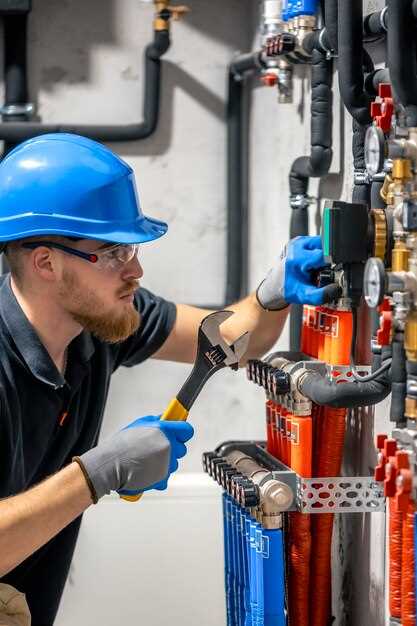
Don’t forget to include safety equipment in your preparation. Safety goggles and gloves will protect your eyes and hands from any potential hazards during the installation. Having these items readily available ensures safety throughout the project.
Lastly, review the installation manual for your selected oil cooler. Familiarize yourself with the components and the steps involved in the installation. This will help you anticipate any challenges and make adjustments as needed during the process.
Step-by-Step Procedure for Installing the Oil Cooler

Begin by gathering all necessary tools and materials. You will need an oil cooler kit, wrenches, sockets, screwdrivers, a drill with drill bits, and an oil catch pan.
1. Preparation: Park your vehicle on a flat surface and engage the parking brake. Allow the engine to cool down if it has been running. Disconnect the battery to ensure safety during the installation process.
2. Locate the Existing Oil Filter: Identify the current oil filter and the oil lines connected to it. Take note of their positions, as the new oil cooler will need to connect to these lines.
3. Drain the Engine Oil: Place an oil catch pan under the oil pan. Unscrew the drain plug and let the oil completely drain into the pan. Remove the old oil filter using an oil filter wrench.
4. Attach the Oil cooler Mounting Bracket: Refer to your oil cooler kit for the specific mounting bracket. Position the bracket in an appropriate location, usually near the front of the vehicle for optimal airflow. Mark drilling points and drill holes as necessary. Secure the bracket with bolts provided in the kit.
5. Install the Oil Cooler: Position the oil cooler onto the mounting bracket. Secure it with the screws or bolts included in your cooler kit. Ensure it is tightly fastened to prevent vibrations or movement.
6. Connect Oil Lines: Install the adapter fittings onto your oil cooler. Attach one line from the oil cooler to the inlet at the engine where the old oil filter was located. Connect the other line to the outlet that leads back to the engine. Make sure all connections are tight and leak-proof.
7. Reinstall the Oil Filter: Before reinstalling the oil filter, lubricate the rubber gasket of the new filter with a small amount of fresh oil. Screw it back into place securely.
8. Refill Engine Oil: Replace the drain plug. Pour fresh engine oil through the dipstick tube according to your vehicle’s specifications. Check for leaks around the oil cooler and the connections you made.
9. Reconnect Battery and Start the Engine: Reconnect the battery terminals. Start the engine and let it run for a few minutes. Monitor the oil cooler for any leaks, and check the oil pressure gauge if your vehicle has one.
10. Test Drive: Once everything appears to be functioning correctly, take the vehicle for a short test drive. After driving, recheck the oil levels and inspect for leaks again.
